
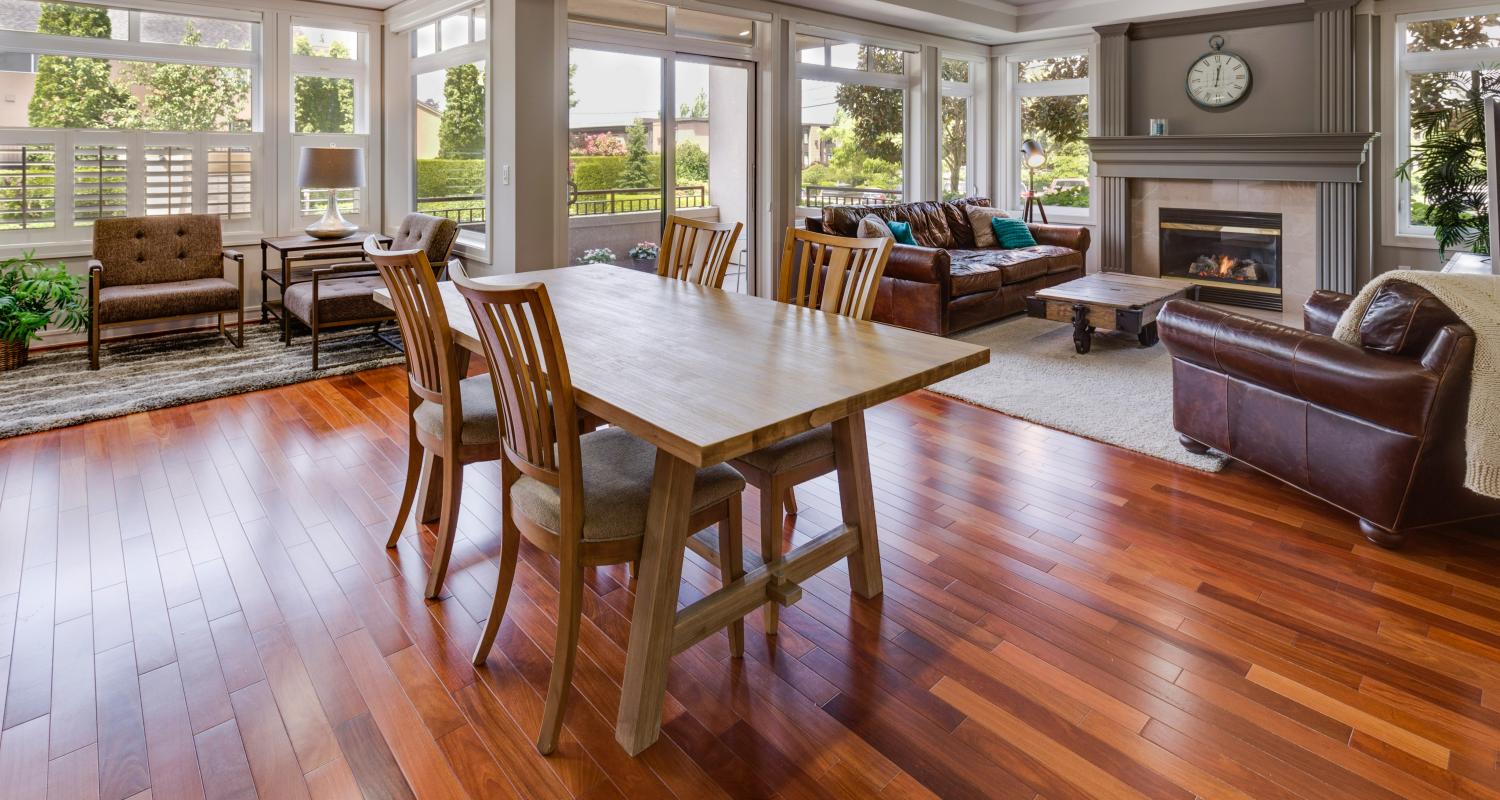
Installing wood flooring can completely change the look and feel of a home. It brings warmth, natural beauty, and long-lasting value. However, to get a smooth and durable result, you need to follow a clear process. This guide explains how to install wood flooring step by step in a simple and practical way.
How to Prepare Before Installing Wood Flooring Step by Step
First of all, preparation is the key to success. Before you start installing wood flooring, make sure the room is ready.
Start by clearing the space completely. Remove old flooring, furniture, and dust. After that, check the room’s temperature and humidity. Wood is sensitive, so it should stay in the installation room for at least 48 hours to adjust.
In addition, gather all tools in advance, such as a saw, measuring tape, spacers, hammer, and adhesive (if needed). When everything is ready, the installation process becomes much smoother.
How to Choose the Right Wood Flooring Materials Step by Step
Next, choosing the right wood flooring is very important. Different types of wood offer different looks and performance.
For example, solid wood flooring gives a natural and premium feel, while engineered wood flooring is more stable and resistant to moisture. Therefore, you should choose based on your room type and budget.
At this stage, it is also helpful to consider long-term durability. High-traffic areas like living rooms need stronger materials. Meanwhile, bedrooms can use softer and warmer styles.
If you are looking for high-quality wood flooring and full interior solutions, you can explore professional customization options from DTCASA, which provides integrated home design and material support for modern projects.
How to Prepare the Subfloor for Wood Flooring Installation Step by Step
After selecting materials, the next step is preparing the subfloor. This step is often ignored, but it is very important for a stable floor.
First, clean the surface carefully. Remove dust, nails, and uneven parts. Then, check whether the floor is level. If there are gaps or dips, use a leveling compound to fix them.
In addition, make sure the subfloor is dry. Moisture can damage wood flooring over time. Therefore, using a moisture barrier is often recommended, especially in humid areas.
When the subfloor is smooth and dry, you are ready for installation.
How to Install Wood Flooring Step by Step Using Proper Methods
Now comes the main part: installing the wood flooring.
There are three common methods:
First, the floating method. This is the easiest. The boards are clicked together without glue or nails. It is fast and suitable for beginners.
Second, the glue-down method. In this method, adhesive is applied to fix the boards directly to the subfloor. It provides strong stability and reduces noise.
Third, the nail-down method. This is often used for solid wood flooring. The boards are fixed using nails or staples, offering long-term durability.
During installation, always start from one corner of the room. Keep small gaps near the walls to allow natural wood expansion. This step is very important to avoid future warping.
How to Cut and Fit Wood Flooring Boards Step by Step
As you continue installing, you will need to cut boards to fit edges and corners.
Measure carefully before cutting. Even a small mistake can affect the final look. Use a saw for precise cuts, and always double-check measurements.
In addition, try to stagger the board joints. This not only improves strength but also makes the floor look more natural and balanced.
When fitting around doors or pipes, take extra time. These areas require more accuracy for a clean finish.
How to Finish and Seal Wood Flooring Step by Step
Once all boards are installed, the next step is finishing.
First, remove all spacers around the edges. Then, install baseboards or skirting to cover the gaps. After that, clean the surface thoroughly.
If you are using unfinished wood flooring, sanding and sealing are necessary. This helps protect the surface from scratches and moisture. In contrast, pre-finished flooring only needs cleaning and light maintenance.
Finally, let the floor settle for at least 24 hours before placing heavy furniture.
Common Mistakes in Wood Flooring Installation Step by Step
Even though installation seems simple, some common mistakes can affect the result.
One common issue is skipping subfloor preparation. This often leads to uneven flooring later. Another mistake is not leaving enough expansion space, which can cause buckling.
In addition, using the wrong adhesive or poor-quality materials can shorten the floor’s lifespan. Therefore, careful planning is always necessary.
By avoiding these mistakes, you can achieve a cleaner and longer-lasting wood floor.
Why Choose DTCASA Wood Flooring Solutions for Your Project
When it comes to professional wood flooring and full interior solutions, quality and consistency matter a lot.
DTCASA offers customized home and commercial interior solutions, including wood flooring, cabinetry, and full-space design services. With a strong manufacturing base and complete production workshops, it supports projects from material selection to final installation.
Moreover, integrated design and manufacturing help ensure better control over quality, style, and cost. This makes it suitable for villas, apartments, hotels, and large-scale development projects.
Conclusion
Installing wood flooring step by step requires careful preparation, the right materials, and proper techniques. From subfloor preparation to final finishing, every step affects the final result.
With the right process and reliable material support, you can achieve a beautiful, durable, and comfortable wood floor that lasts for years.


